DIY Back to School Activities For Kids

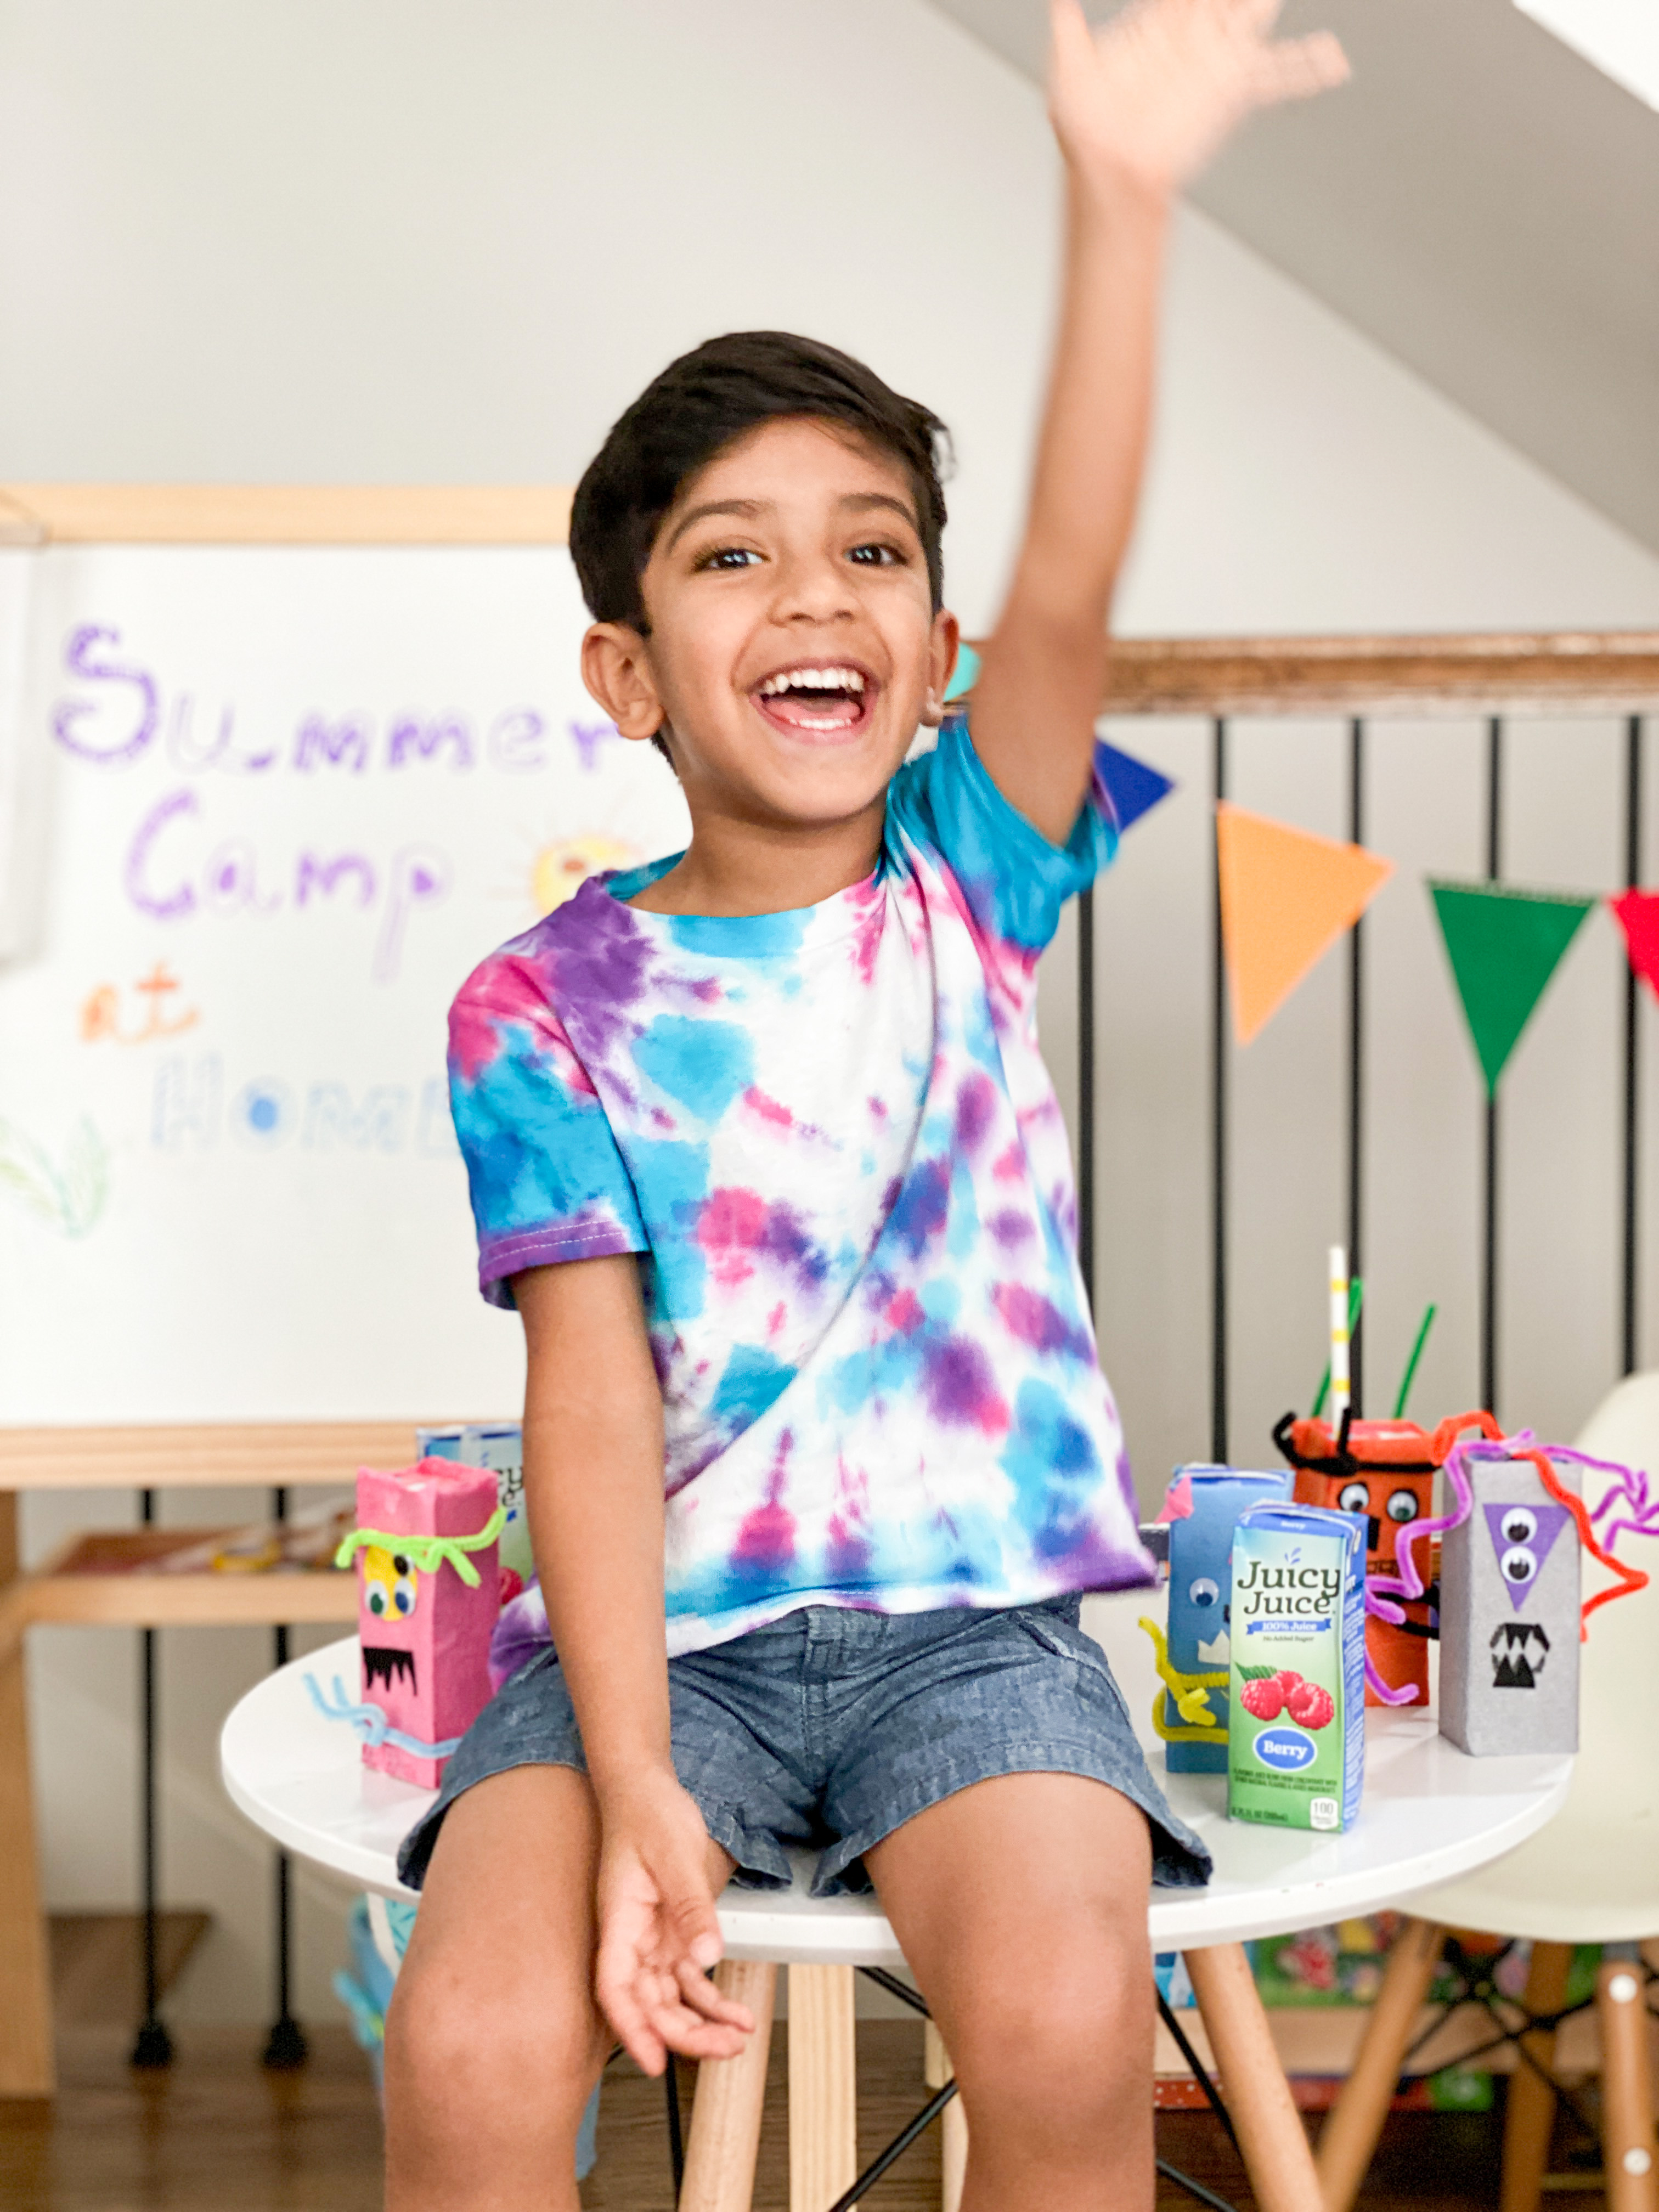
With the school year approaching, we’re ready to beat after-school boredom with some classic DIY- inspired activities and crafts you can do at home with your kids. When the school year turned virtual, Vir and I loved spending the days cooking and creating new crafts – we even set up a camp tent for our “summer vacation!”

Even though I loved the extra time with Vir, I know he missed his friends and teachers while we were at home. Homeschooling my son while working from home has made me realize how much work and effort goes into teaching our kids all day. Our teachers really made the year special, which is why I’m so happy that we’re a part of the new Juicy Juice 100% Thankful Teacher Contest. To honor and thank the teachers that go above and beyond for our kids, Juicy Juice is giving away over $30,000 in prizes to set them up for the best school year yet, and Michaels is even providing gift cards for the teachers.


Do you have a stellar teacher you want to nominate? If so, it’s super easy!!


1) Throughout August, parents can nominate the superhero teachers who have made school special for their kids, whether in-person or through virtual learning.
2) Entrants can go to juicyjuice.com/thankful to nominate teachers until August 31.
3) 20 finalists will be selected and then the grand prize voting begins!
4) All finalists will win an assortment of prizes, with 2 grand prize-winning teachers each receiving $10,000 and others winning a selection of Juicy Juice merchandise, product and a Michaels gift card!

Enter here.

To help get ready for the year, we found inspiration from Juicy Juice to help get in the back to school spirit and find at-home entertainment.

We usually play with the sprinkler in our driveway to cool off in the 95 degrees Houston weather and hydrate with Juicy Juice fruit juice boxes. Juicy Juice is an iconic kids’ beverage brand enjoyed by families for over 40 years. Available in 15 juicy flavors, Juicy Juice 100% juice has no added sugar, ever! I love that Juicy Juice is an excellent source of Vitamin C, making it a great choice as we head back to our school routine.

Below, I’ve shared a few of our favorite crafts and activities that you and your family can enjoy while getting ready for the year. Paired with 100% juice from Juicy Juice, it’s a great way to get ready for a new year!

1) Making tie dye shirts was on our bucket list, and it’s not as messy or daunting as it sounds. Vir was very excited about the project.

You need- White T shirt, Tulip one step Tie Dye kit and plastic bag. I searched on you tube to learn some tie dye techniques and used the spiral one for Vir’s T shirt. The idea is to keep it simple and mess free.

After tying the T shirt with rubber bands, we squeezed the dye bottles to get the color on the T shirt and then let the T shirt soak in the color up to 8 hours in the plastic bag. Later wash the T shirt in cold water and run a cycle too in the washing machine to get rid of the remaining dye and air dry.

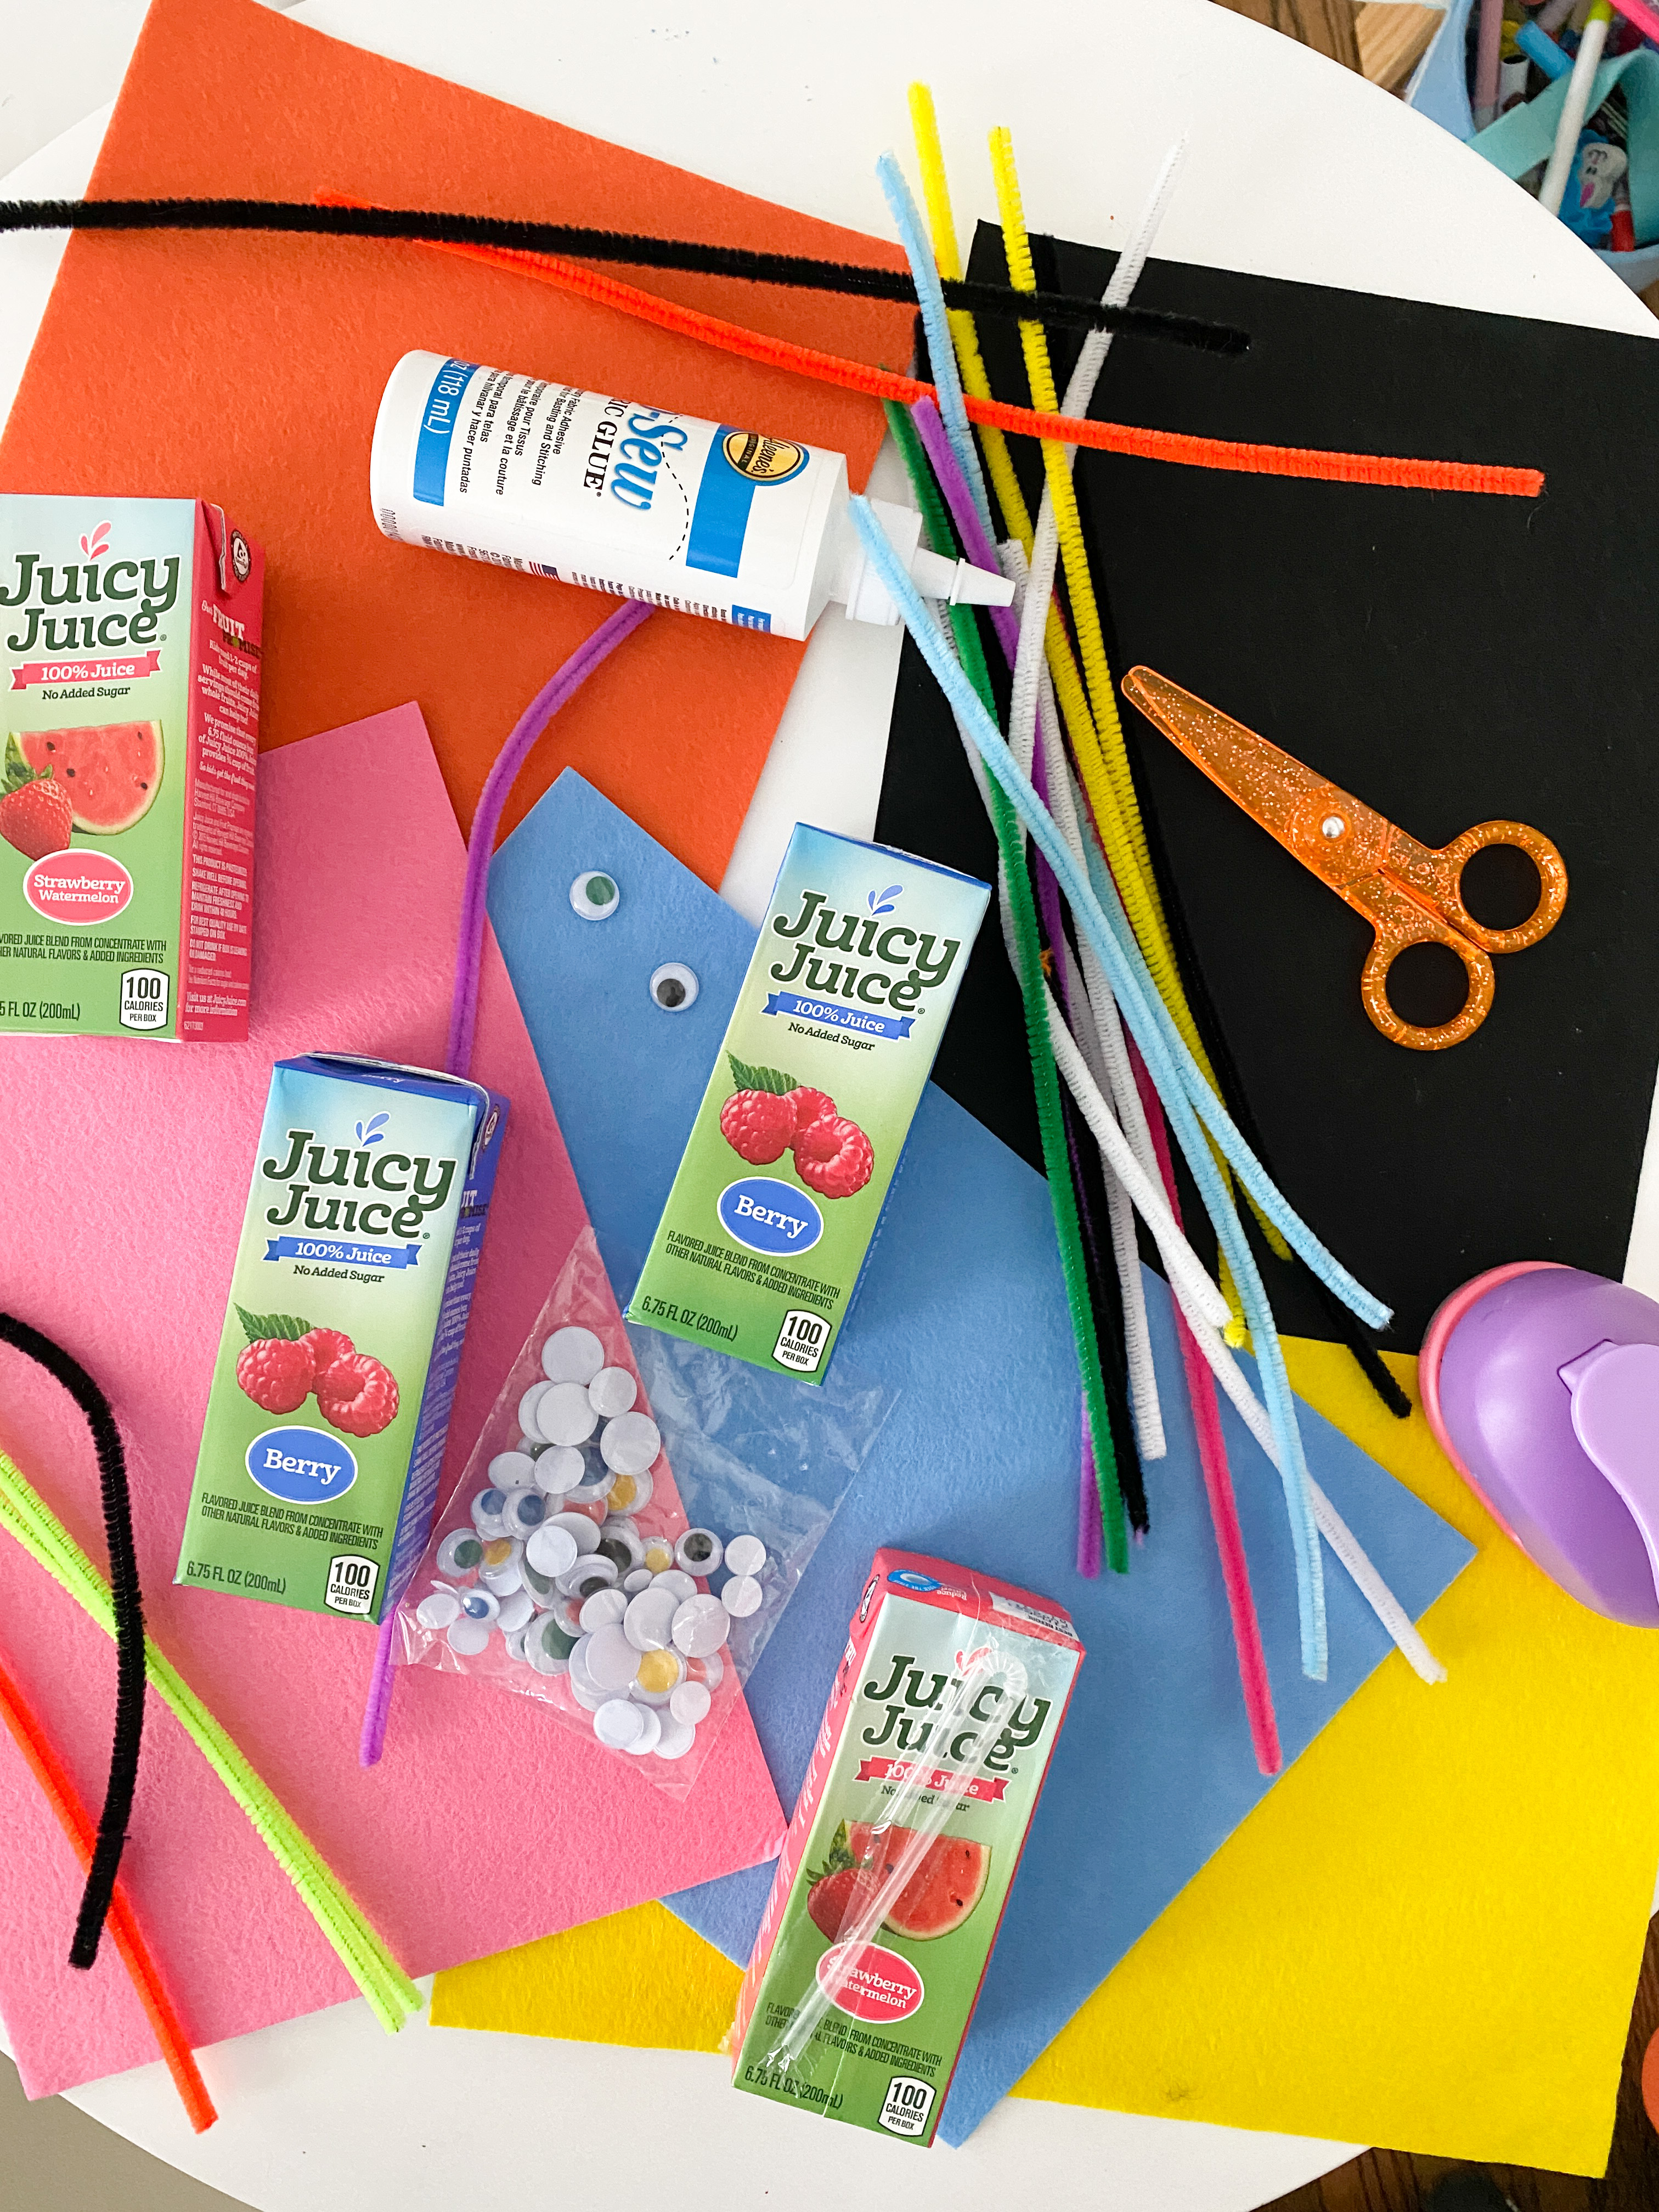
2) Juicy Juice Monster Juice Box craft – Vir is fascinated with googly eyes and Halloween and we decided to decorate Vir’s favorite strawberry + watermelon flavor and berry flavor Juicy Juice boxes with felt paper, goggle eyes and colorful Chenille stems. It was one of Vir’s favorite craft activities to date. We are reusing the monster Juicy Juice boxes after they were empty as pen and crayon stands.

3) DIY hand painted bug rocks-These DIY hand painted ladybug rocks are perfect for your garden or indoor pot decor this summer. They’re so adorable, and so easy to make for kids. If you have stones is your front yard this is a great way to re purpose them. Vir learnt some facts about the bugs and insects too as it was the main theme for one of the camp days.
You need smooth rocks, acrylic paint, black color pen, glue, google eyes. (You can also use spray paint for better coverage)

4) Nature Scavenger Hunt – Taking a walk with the kids in the summer is exciting especially when they have the Summer camp Nature Scavenger Hunt sheet. This activity makes them more aware of all the things going on around them that they might otherwise miss. You can download the free Scavenger hunt sheet here.

I hope these are helpful and you enjoy them with your kids.

Happy Homeschooling!

5 Fun Ways to Celebrate Holi at Home With Your Kids. Free Holi Banner Included

Among the many festivals we celebrate, HOLI has always been my favorite since childhood. This year I am so excited about being able to share my love for Holi with my son . Although he is very young to understand the culture and its essence in our lives, I cannot wait for him to sprinkle colored powder on me and enjoy the water balloons and water pistol battles with his friends and siblings in the years to come.

Simply defined HOLI is the celebration of the vibrancy of spring, fertility, love and the triumph of good over evil. The festival is usually celebrated in March and signals the coming of spring in India. It’s the start of new hopes and relationships, signified through the burst of colors everywhere. Holi is also about warmer weather, sweet delicacies and of course, special Holi crafts and activities for kids.

In this post I am sharing some fun ideas to enjoy the festival of colors with some easy to do colorful play for toddlers. Also, I made this

PRINT THIS BANNER FOR 

Pre and  Post Holi picture memories. 

FullSizeRender (3).jpg

CLICK HERE TO DOWNLOAD THE HOLI BANNER by thesnazzymom.com

I got the print out from Office depot on four A4 sheets. You can get them laminated so that they are sturdy and can be reused later. Note you will have to cut them into circles and can use tape to attach them to a thread. I used white wool.

DIY,  TWO INGREDIENT EDIBLE PAINT FOR BABIES.

Last year during Holi, our son was only 7 months old. We celebrated the festival with him with these simple and safe DIY water colors in our bath tub. It’s a great activity for babies and note the paints are edible too.

Click here for the post and make your own paints

 FLOWER HOLI

We also played Holi outside with some rose petals. Our son  wasn’t interested earlier but later tried to throw the rose petals and joined in the fun. Playing with rose petals will also make great photo opportunities with your baby. Try it out and let me know.

RAINBOW FOAM BUBBLES PARTY

rainbow soap

Picture by Funathomewithkids.com

Rainbow Foam bubbles is a great sensory activity for kids to play and learn colors and celebrate Holi in a fun and easy way.  Note this will be good for older kids as younger kids might eat the foam and the soap could also get in their eyes.

Click here for the post and learn to make the colored foam bubbles.

COLORED TOASTS FOR TREATS

toast

Picture by HelloWonderful.co

Rainbow toasts is a must try! You can remove the sprinkles and just get your little one to eat his/her toast when they are fussy. It is also a great kids party snack idea and healthier than cake, cookies or donuts. The frosting is actually cream cheese and not frosting!

Click here for full recipe.

FUNFETTI MALAI KULFI IN EDIBLE SPRINKLE BOWLS

Funfetti-Malai-Kulfi-in-Edible-Sprinkle-Bowls_6

Picture by LoveLaughMirch.com

A modern and colorful take on traditional malai kulfi. This frozen desert is a staple on Indian festivals and this twist of sprinkles will add some more fun to your Holi celebrations ! Also a great way to involve older kids in the festivities of making fun, delicious and colorful dessert while making memories. Check out this latest blog post on making this delicious desert . Sprinkle some colors on my Kulfi !!

I wish you a fun filled HOLI with your friends and family and these ideas can add to the celebration !!

HAPPY HOLI !! XOXO

Arushi (2)

HOLI ACTIVITY IDEAD FOR TODDLERS (2).png

My Last Minute Family Halloween Costume You can DIY! 

First Halloween is always special, you get to dress your little one in cute outfits and click several pictures to reminisce later. I bought my 5 month old son 4-5 costumes from the store to try and see what suits him best. But of course he was extremely uncomfortable in all of them and kept fussing.  (Now I think a simple onesie costume would have worked best )

So just a day before Halloween last year (2016) I decided to make this cute Popcorn costume for my son to create a look that matches the entire family. I definitely felt it was more practical for our First Family Halloween outing..

While some moms blow my mind by putting  hours to building outrageous costumes, I can tell you  there are tons of ideas for creative DIY baby costumes that you can pull off with a little imagination, some basic crafting skills. I believe a baby carrier costume is the best solution if you plan to leave the house for trick or treating. Your baby is cozy and snug against you and you have your hands free!

Processed with Snapseed.

“Clothes make a statement. Costume tells a story” Mason Cooley

This DIY popcorn costume is perhaps the cheapest and easiest of ALL the costumes to make! 

Cut, glue, wear. BA-BAM!

You’ll need:

  1. 5-6 sheets of White and Red felt
  2. Scissors
  3. Glue gun
  4. Thread and needle
  5. Baby carrier
  6. A baby bonnet or cap
  7. White infant and adult clothing
  8. Matching adult shoes optional
  9. Red bow ties
  10. 1 red or white apron
  11. Real popcorn

img_5313
The steps are extremely simple. 

Wear your baby in the carrier and measure the length and breadth to decide how many white felt sheets you will need to glue together to make the base.

Cut Red felt into thin stripes and glue them on the white felt base.

For the popcorn alphabets I drew the letters with a pencil on the felt and cut them out. You can use stencils too.

Glue the red alphabets on a rectangular strip of white felt that cover the top part of  the base of the costume.

Stitch the felt base loosely with the carrier

Glue real popcorn on a  bonnet or baby cap

And lastly, don’t forget to dress your fur baby in a hot dog outfit to complete the Family Costume  !

Happy Trick or Treating!!

Arushi (2)

EASY & FUN SUMMER ACTIVITIES FOR TODDLERS

Summer fun guide for toddlers.png

A blast of sunshine and a bit of a breeze go a long way!!

The temperature’s rising and playing inside seems ideal. Also school’s out of session which means a lot of activities, games, crafts need to be planned to do indoors. I decided to round-up some ideas for toddler activities that can be done during the summer, indoors and out, any time of the day.

These fun activities involve lots of hands-on exploration and can be shared with older children, too! I will continue to share more ideas on my Instagram feed and stories.

Outdoor

FullSizeRender (73)

1.Hit the swimming pool: We introduced our child to the water when he was 6 month. Join a class or play in the pool get the kid comfortable in the water — not learning to swim. Get a float, throw a ball and show them to splash. Keep your baby sage in your arms at all time

FullSizeRender (72)

2.Let’s Feed the Birds: Kids of any age can enjoy this activity, head to the park in the evenings with some break and get ready for endless entertainment and lot of giggles. Vir is wearing the Lark Adventurewear Onesie , that is the first and only Infant activewear for adventurous babies.

diy-chalk-2 by Project Nuresery
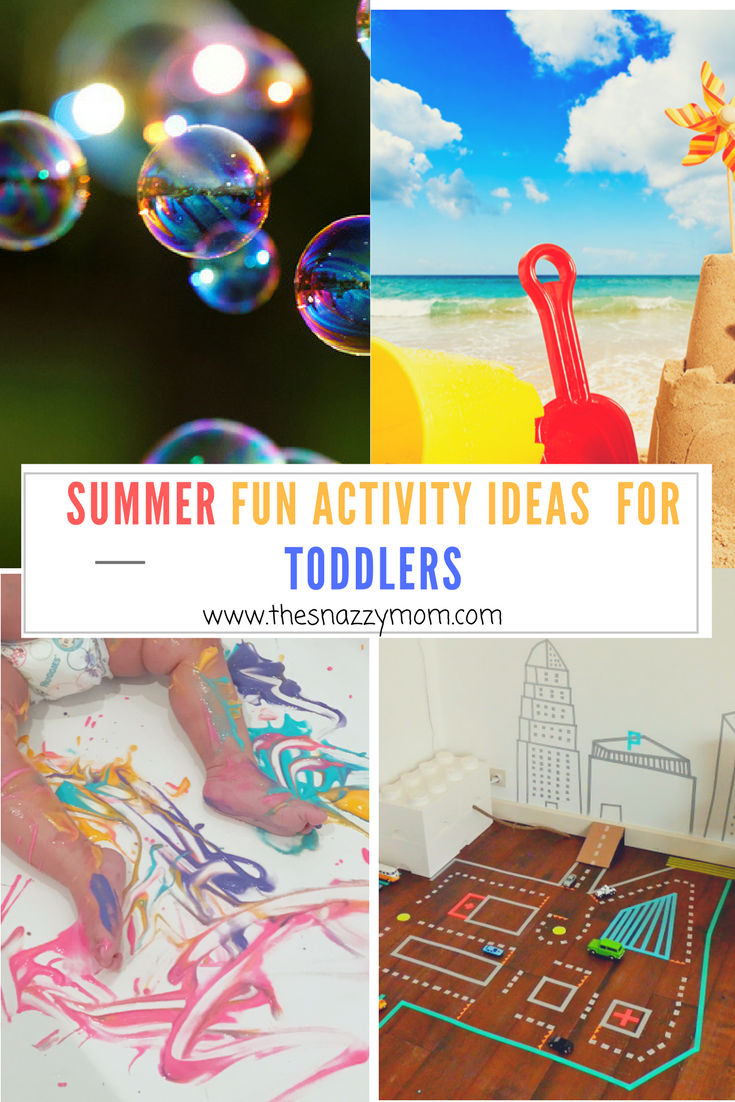
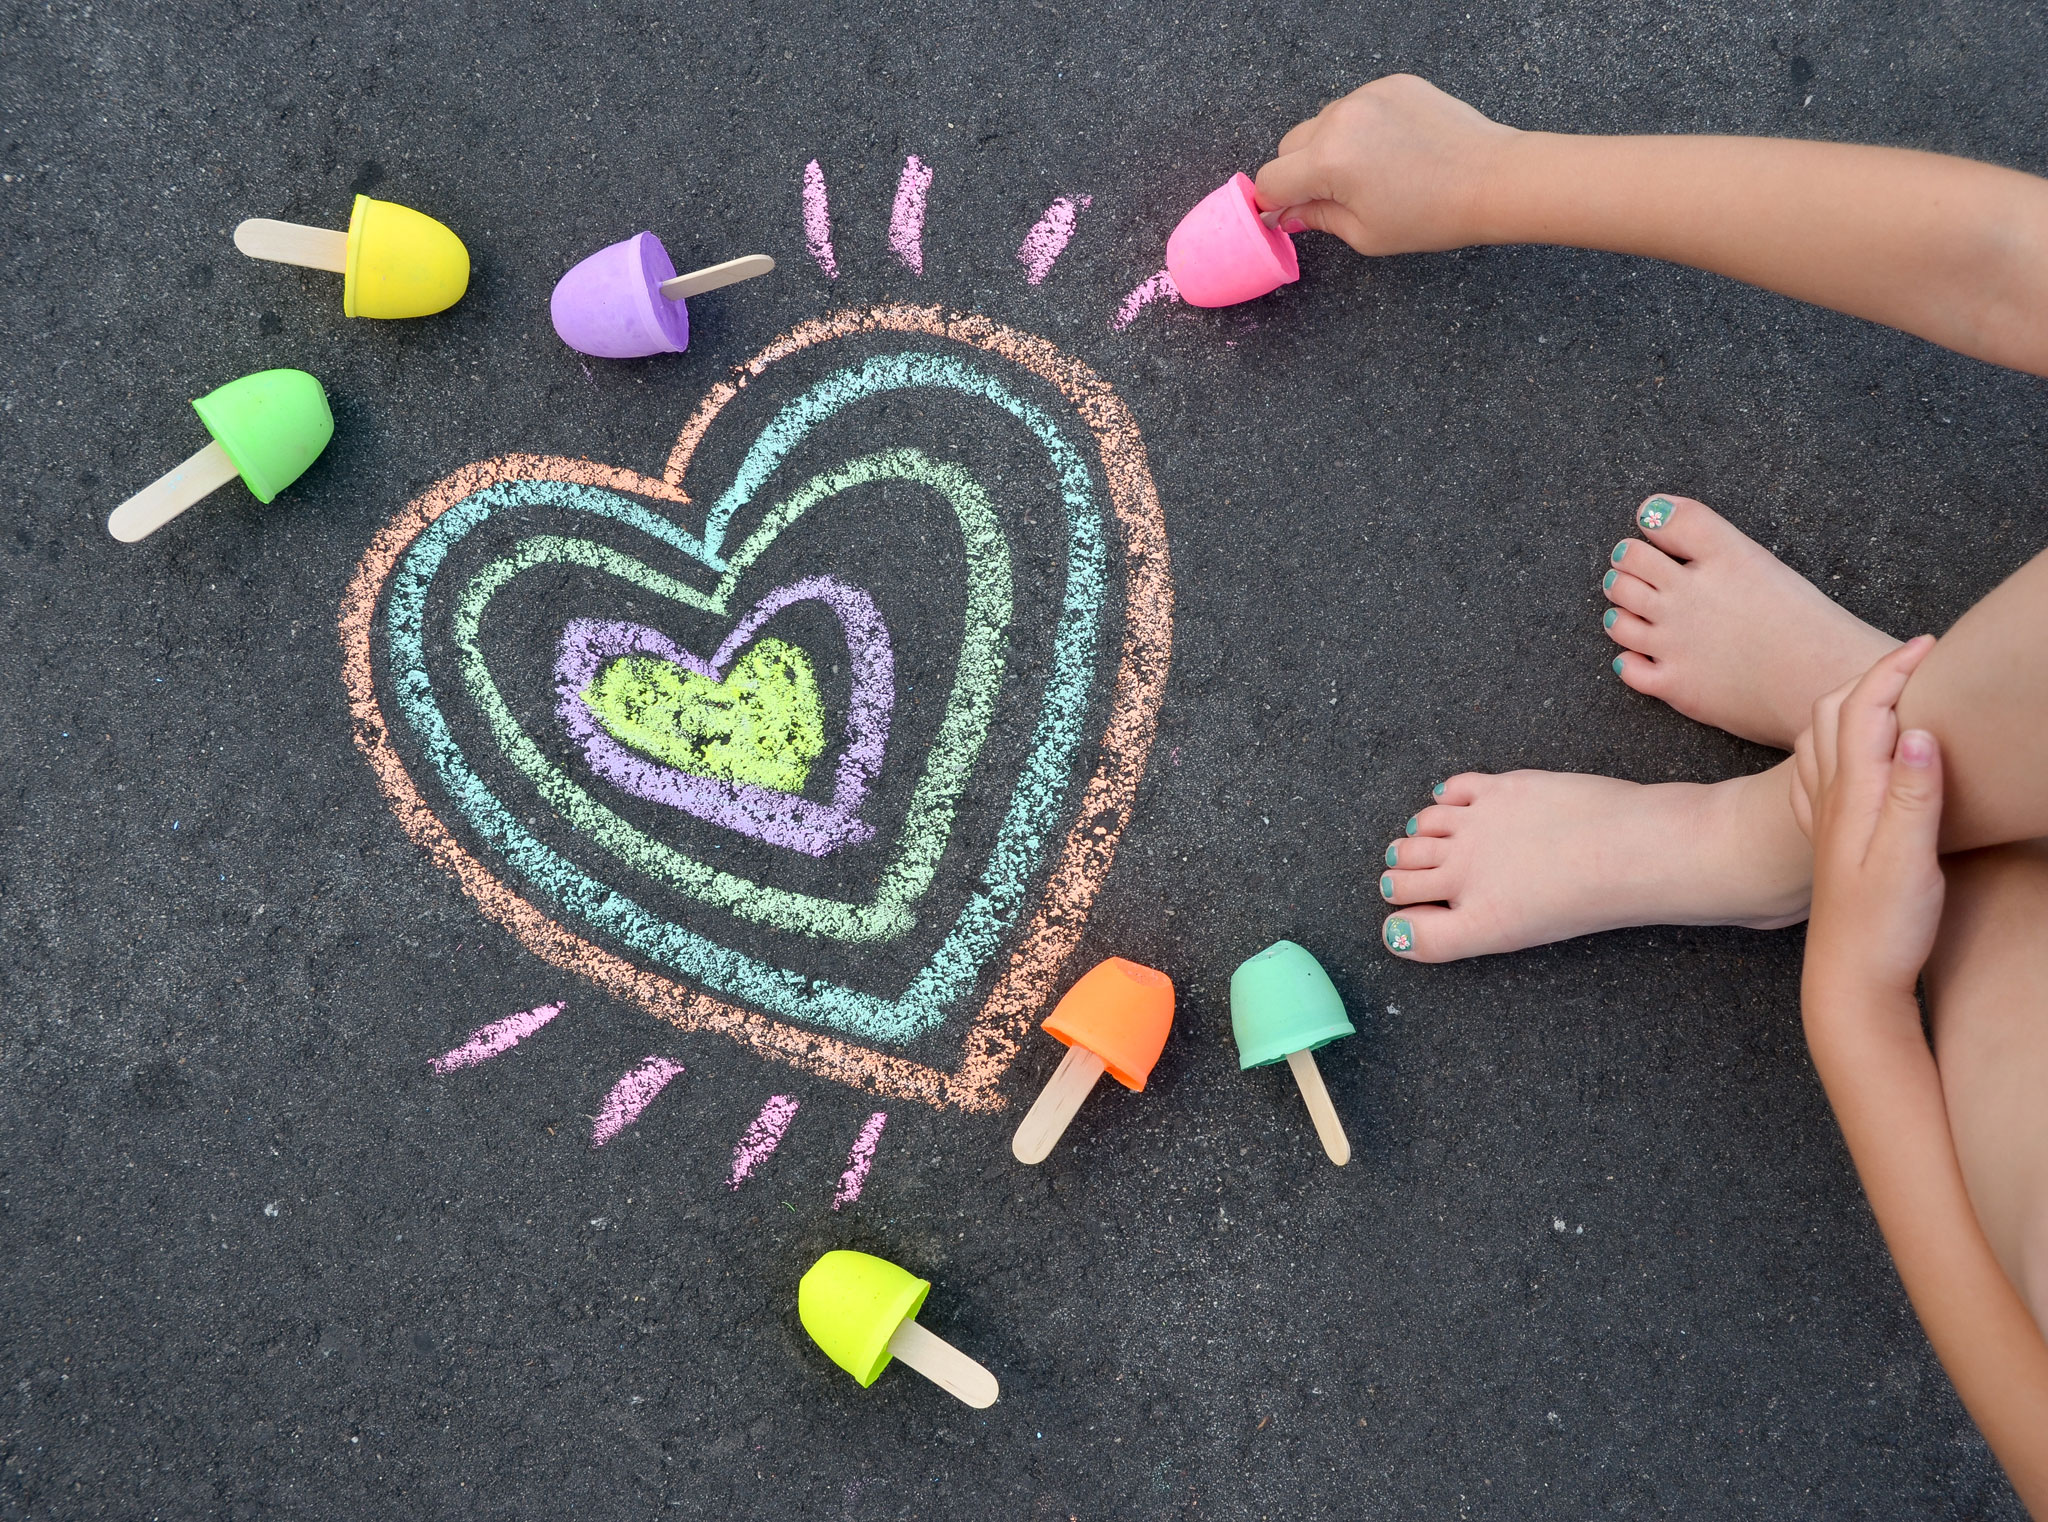
3. Sidewalk chalk is one of those playtime staples that offer endless amounts of entertainment without requiring anything fancy. (Image Credit : Project Nursery)

painted rock

4. Find the Painted rock in your Neighborhood:  

A new trend has been gaining popularity among kids which is also adding a lot of fun to your regular scavenger hunt. Kids are finding rocks, taking them home to paint, and then putting them back out into the world for others to find. The goal is to brighten up the world around us while spreading some much-needed joy.

Soap Bubbles 
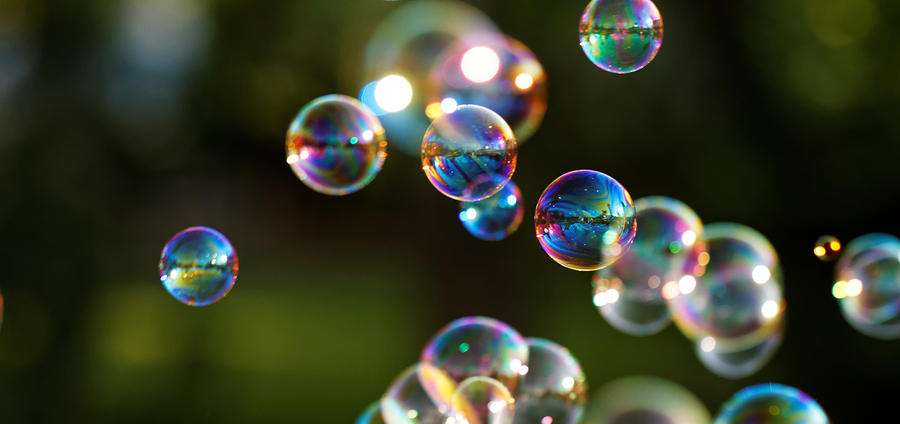
5. Bubble and GIANT Bubbles: The best thing about bubbles is that you don’t have to buy a special bubbles solution. It’s easy to make your own bubble solution. DIY Bubble solution: 6 cups water, 2 cups dishwashing liquid, 3/4 cup light corn syrup. Mix all ingredients together in a large container of. Shake everything up and let sit for a few hours. Pour into empty bubbles containers or dishes and go wild with your bubble wands!!

beach

6.Head to the Beach: A day at the beach sounds like the perfect way to spend a Summer day. Just don’t forget the sunscreen and beach essentials you need.

7.A water fountain or a Splash Pad helps keep the kids cool. Check out which parks have splash pad accessibility in your city.  You can also make your own DIY sprinkler

Homemade Sprinkler ~ Made with Recycled Materials

Image credit : HousingForest.com

8.Go Visit : Family outings to the ZOO, Children’s museum, Library, Aquarium , Botanical Gardens or a visit to the Flea Market are all great ways to spend a weekend.


Indoor Fun

 car game

  1. Create a Tape Race Track in House: Just when it is too hot outside staying indoors seems ideal. I found this very cool race track inspo for you all. Try it .

Fishing in pool

  1. Fishing in the pool: Great activity for toddler for color recognition and on hand-eye coordination and fine motor control (by manipulating the net).All you need is baby pool, foam toys that you can make or store bought boy toys.

img_4557

11. Mess Free safe Finger Painting: Colors and more colors are always fun. Check out my previous post to make your own DIY safe finger paints. Ideal for babies over 6 months  Click here.

12. Other Sensory Play Activities like

Playdough, Water beds, Sand castles, playing with rice, beans or cornmeal or playing with those arts and crafts poms poms.

Summer days are really long, with these activities you can kill some time and keep them busy.

Here’s to summer fun with your little one!

arushi

How I Prepared For My Boy’s Cake Smash Photo Shoot


oatmeal cookies (2)
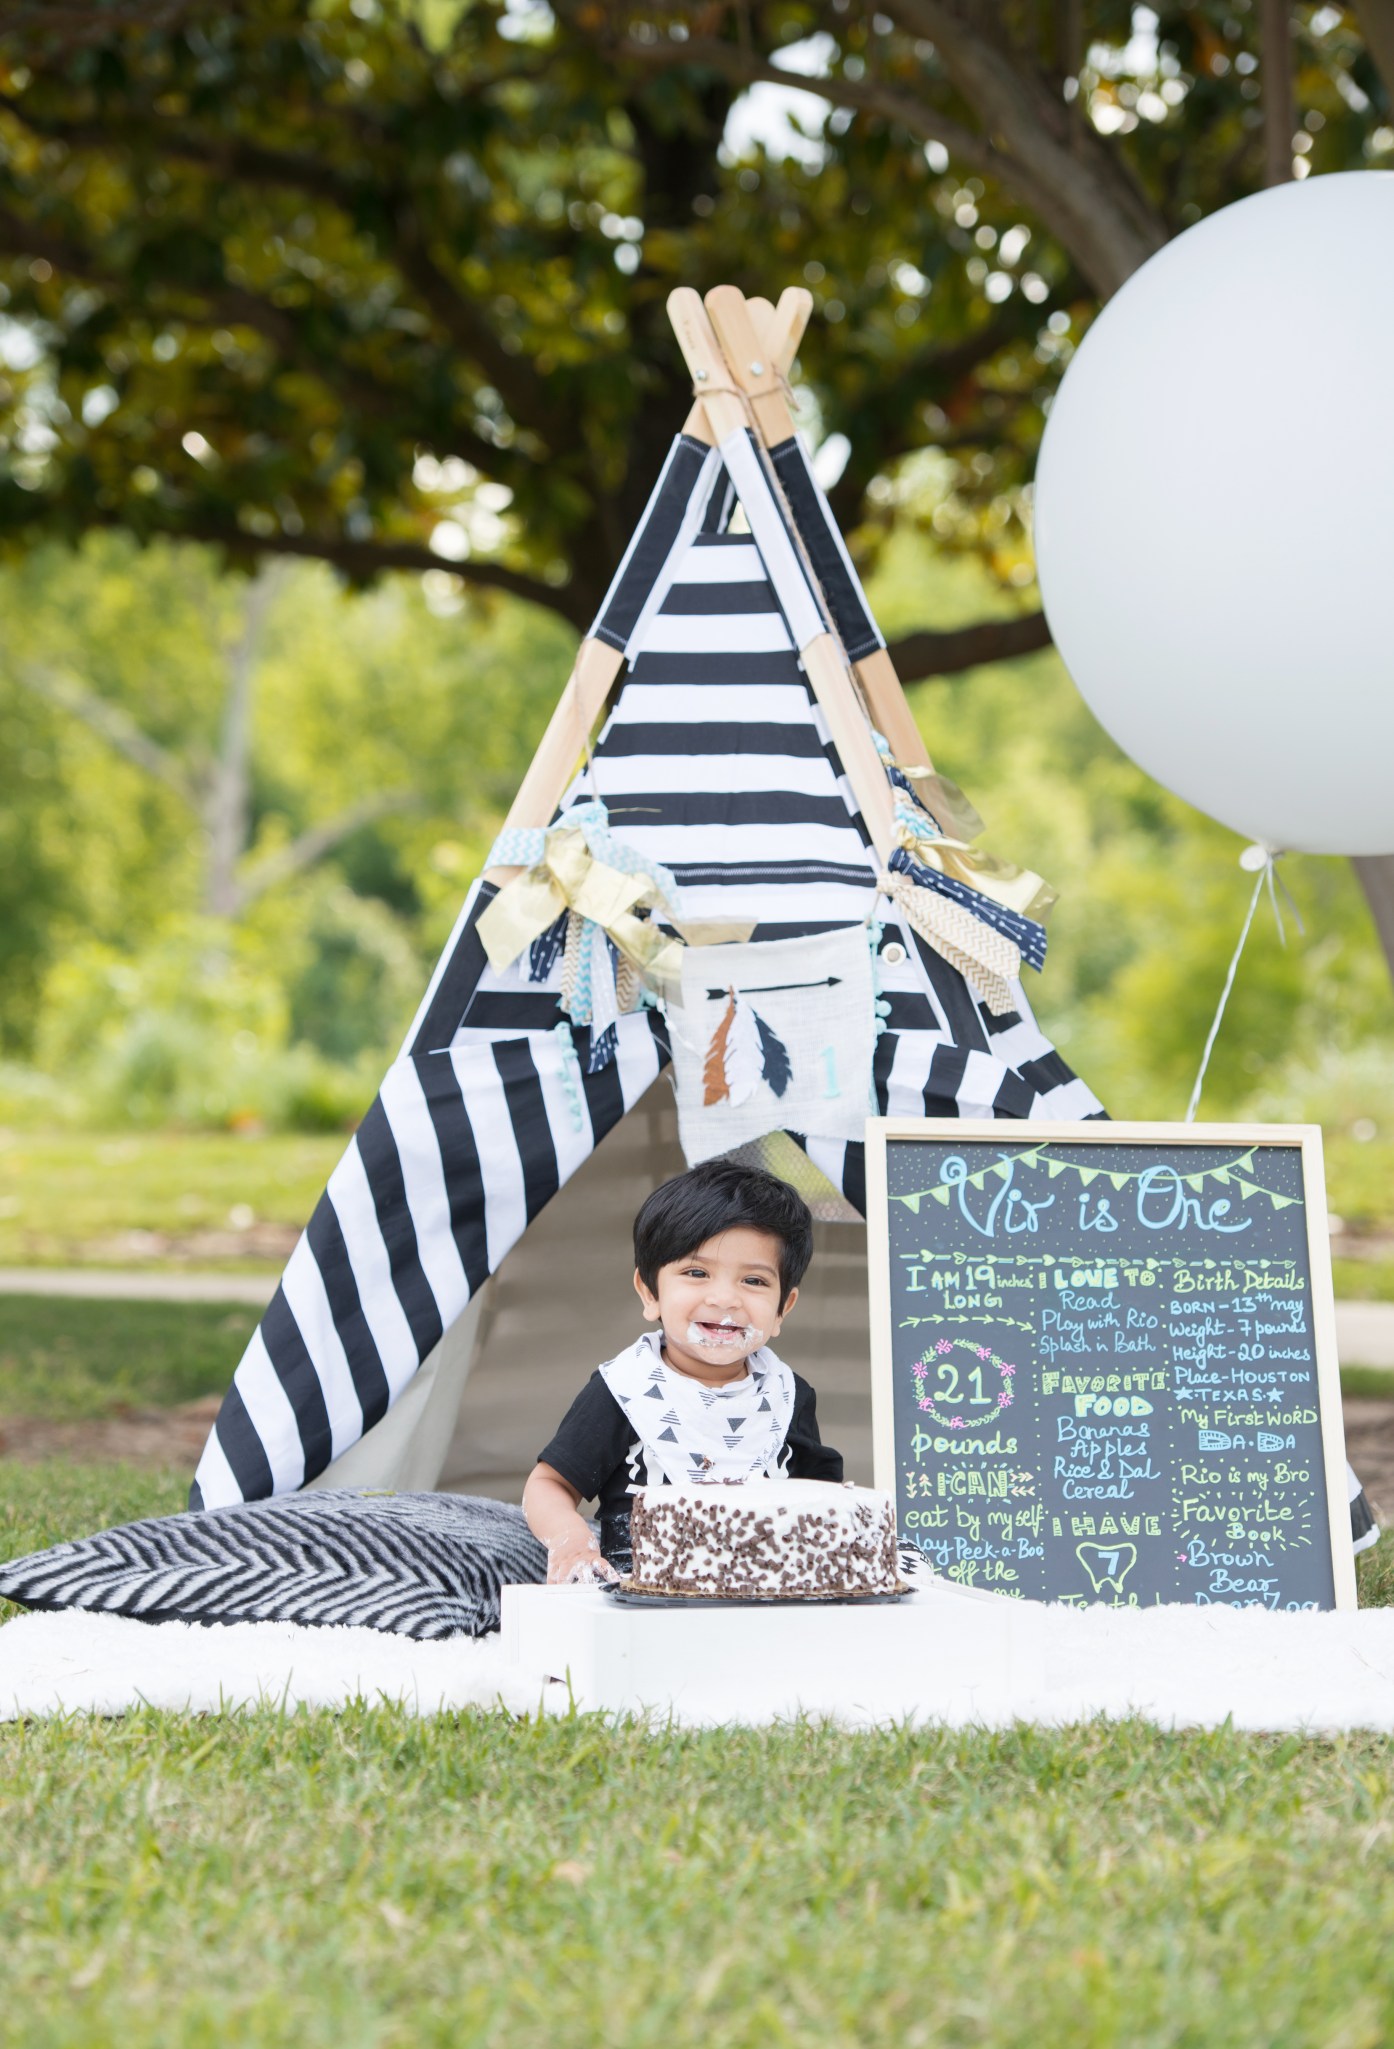
I can’t believe my son is already a year old ! How did this happen? Where did all the time go ? It was only yesterday when we brought our tiny guy home and now all of a sudden he is a toddler. Time flew by so fast and I guess it was also because the first year is full of trails and treasures.

If I could just freeze time, I would continue to gaze in his eyes , nibble his toes, kiss his chubby cheeks and just keep listening him giggle. My heart melts thinking how fast time will slip and my child will outgrow my arms and lap in the coming years.

First birthday is a momentous occasion in any child and parent’s life. This is such a huge milestone for our family too and it warranted for a special photo shoot, so that we can savor it now and reminisce about later (like during the tumultuous teenage years)

DSC_8948

One my favorite captures by Brianne Hardcastle Photography 

Nothing quite says beautiful mess like first birthday cake smash photography. But when you decide to go the DIY route, the results tend to be less beautiful and more mess. I am sharing on the blog few tips on how I prepared for my son’s outdoor cake smash photo shoot. I am not sure who was more excited for the cake smash session me or my son. That excitement make its pretty easy to go overboard with props, but i wanted to keep it simple.

Photography: Hiring a good photographer ensures great results.It may not always be the most ideal option to spend money on a professional, but really and truly, paying for a service makes SUCH a huge difference. I am so glad our pictures from the cake smash session have come out so beautiful. Thanks to the talented Brianne Hardcastle who was committed to capture the best moments. Check out her FB Page for more details.

Location: We wanted to shoot outdoors as it was in tune with our theme and also excellent for good lighting and for that we choose the Bayou Bend Park in Houston.

Keeping Props Simple: An outdoor shoot saved us from all the expensive background decorations and detailing. I used item that were available at my home.

  • The Teepee was the main prop that was central to the entire theme. My son’s lovely Teepee is from – Tnees Teepees. They have a wonderful collection of modern and stylish teepees for boys and girls that look great in any room. I also used a white rug and a cushion under it .
  • Cake: Of Course a cake is the highlight of the cake smash photo shoot, you can use different colors according to your theme. I didn’t want to spend too much on it either, so I went for a simple white butter cream chocolate cake.
  • DIY Cake Topper: Since the cake was very plain and simple , I added some fun to it by making a cake topper with paper straws. I used a craft thread and cut paper triangles and wrote ONE with a sharpie on it and glued them. You can also buy some really nice cake toppers online.
  • DIY Chalkboard first birthday sign– The details of your child’s first year can be forgotten over time, but with a stunning Chalkboard First Birthday sign, you can cherish them forever! I made this chalkboard with some inspiration from Pinterest. Took me an hour to work on it. You can also get one professionally down from etsy and print it .
  • A huge Balloon can cover a lot of space for pictures and also add a pop of color. I used a white one as it went with our theme. This is a 36 inch balloon.
  • Fabric banner: The only main decorative piece I really splurged on was the fabric banner that I got from Etsy (displayed on the teepee). It can also be used as a garland or even a high chair decorative piece. I also used it for decorating Vir’s high chair at his birthday party at our home.
  • Outfit: My sister got Vir his cake smash outfit , she bought it from amazon . There are some great shops on etsy to you can buy cute cake smash outfits . Note its really hard to get something unique for boys.

Color coordinate:  I stuck to a low a key background with white , black and natural green for keeping the pictures neat and bright. Start with one item that you would like to coordinate in the session then, add in colours that coordinate or complement that item.


DSC_9019


All these beautiful moments are captured by Houston Based Photographer Brianne Hardcastle. Click here more info

Timings for the cake session is very essential : You want it to be stress and fuss free. I planned the session in the evening after my son’s nap time. The weather was great too. (And yes, it’s perfectly fine if the cake smash photos aren’t done on their actual birthday.)

Get the baby to dig in: Our son was shy to dig in the cake after he touched the frosting. He was weirded out by the sticky texture. I got our dog to join the party and also put my finger in the cake to excite him about the process.

DSC_9101

I had to frame this !! He won’t stay so little anymore

Post session Clean up : This is one thing I completely forgot about, while rushing for the shoot from our home. You need to have paper towels handy, plastic/paper bags to throw away the mess. And a spare change of clothes for the kid after the session is over.

The first birthday cake of our child was a huge milestone for us. And so for that reason I took a break from taking a few cell phone photos and completely avoided the plastic highchair cake smash experience. This was truly a momentous celebration and I hope these tips can help you prepare for your big occasion.

You can see his birthday party video at our home on my Instagram page

#letthembelittle

Love

arushi

DIY Finger Paint Activity for Babies on HOLI.

Safe and edible colors for baby.png

As a new mom I am always excited to celebrate Vir’s Firsts, whether they are milestones or festivals.

“Holi”the festival of colors is being celebrated this year on March 12th.  It is significant in Hindu culture as it marks the arrival of Spring.The festival breathes an atmosphere of social merriment. People bury their hatchets with a warm embrace and throw their worries to the wind. In India, every nook and corner presents a colorful sight. Young and old alike are covered with colors (red, green, yellow, blue, pink, orange, violet, and more). I have always loved playing Holi, and wanted to celebrate it with my son this year.

However, celebrating Holi with a 9 month old can be slightly different, we have to adjust to their age and temperament to make the experience a truly enjoyable and memorable one. These days life is a blur of early morning snuggles and taking several pictures of Vir’s antics. And of course I wanted to capture Vir’s first Holi too, but  in the most simplest of ways .

I have read that finger painting can be a very good sensory activity for the child’s development and so I took this occasion to introduce colors and finger paints to Vir. He is at an age where he likes to sneak those fingers in his mouth and for that reason I wanted to make my own paints which are edible and toxic free. 

This is by far one of the most simple activity made with 2 simple ingredients from your kitchen


img_4557


You will need:

Greek Yogurt & Food Coloring

I mixed the yogurt with a drop of the food coloring together to create these finger paints!

We use the bath tub as our canvas. However you can also use a shower curtain for keeping the activity mess free while cleaning it up easily.

Make sure you throw away the remaining paint once it is done. I won’t recommend saving it.

img_4457img_4465img_4471img_4493

Let the colors of Holi spread the message of peace and happiness.Wish you all a very Happy Holi !!!

Love

arushi